In this post, I am going to present an example of a Continuous Delivery Pipeline that helps in efficient delivering of software.
The build definition should contain Unit Tests step that should fail in case of any detected bugs, so that it does not land in any subsequent environments.
Once the build is successful (the code compiles, unit tests pass, the deployment package gets created etc.) the software can be deployed to DEV environment for the developers to perform any kinds of tests on it. Simultaneously it can be deployed to STAGING environment for thorough Automated Acceptance Testing*. If all tests have been passed, then it should be set ready for PROD environment.
* In case of software that has to communicate with other software delivered by different teams, a separate QA environment followed by a UAT environment would be more appropriate. In QA the team would run Automated Tests and perform any additional manual testing until all tests have been passed. After successful QA testing, the UAT testing would start and involve verifying interaction with any external software (e.g. upstream and/or downstream systems). This would also be the best environment for end users to test the functionality.
Deploying to PROD environment is rather a big deal, therefore it is useful to set designated people to approve the deployment to PROD before it actually happens. This allows for controlling when the deployment to production takes place, lets the approvers review the release notes and take into account the current circumstances. It also gives more time for performing exploratory testing in STAGING which may result in new test cases that have to be included into Automated Acceptance Testing.
An alternative approach would be deploying successfully automatically tested software to PROD without approvals. In such case the team should use a strategy that would allow them to have their not-yet-ready-for-production changes turned off when the software lands into production. Such a solution is typically possible with so called feature toggles (more about them here).
Enough of the intro. Time for getting to the point.
Intended overall pipeline:
UNIT TESTS IN DEV* -> AUTOMATED ACCEPTANCE TESTS IN STAGING -> PROD -> AUTOMATED SMOKE TESTS IN PROD
* Unit tests will execute during the Build, which means their setup is out of scope of this post.
Deployments will be performed into App Services in Azure.
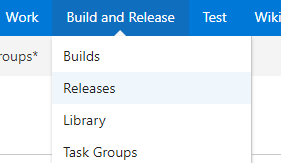
Go to Build and Release -> Releases:
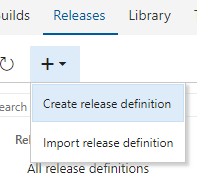
Click Create release definition:
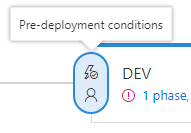
Select the template Azure App Service Deployment and click Apply. Rename the environment to DEV.
Select Pre-deployment conditions:
Expand Deployment queue settings and set Maximum number of parallel deployments to 1.
Set Subsequent releases to Deploy latest and cancel the others.
Click Add artifact:
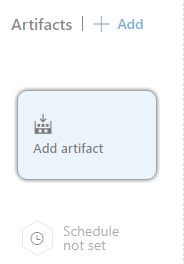
Go to Build -> Project -> Select Source which is an existing build definition (the result of the build definition should be artifacts) -> Select Default version to Latest -> Click Add.
Click Continuous deployment trigger:
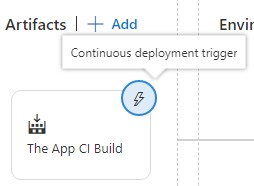
Set it to Enabled. Set Build branch to master.
Clone the DEV environment:
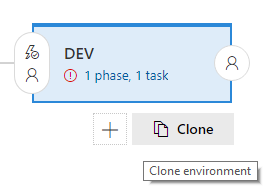
Rename the new environment to STAGING and change Pre-deployment conditions to: Trigger after release.
Add another environment and rename it to PROD.
In its Pre-deployment conditions enable Pre-deployment approvers and specify a team member.
Set Maximum number of parallel deployments to 1. Set Subsequent releases to Deploy latest and cancel the others.
Now in each of the environment set the Azure service subscription:
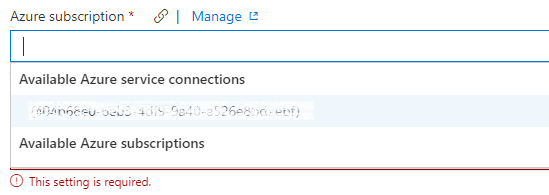
And select the app service name which you should have already setup in Azure. If you have not yet then this post will quickly explain the required steps to do so.
Now it is time to add the missing tests in STAGING and PROD. On STAGING Environment click “1 phase, 1 task” and then on “Run on agent” click + as shown below:

Select .NET Core task as this is the one we will use to execute prepared tests.
Give the new task (Display Name) a proper name, e.g. “Automated Acceptance Testing” and select the command for the .NET Core command runner:
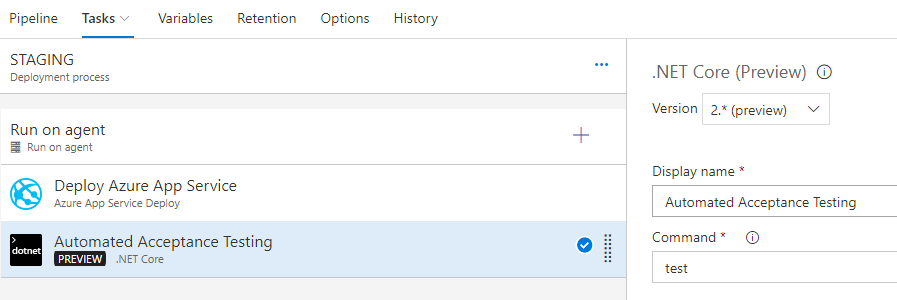
Take similar steps for PROD. The above steps should result in the following setup:
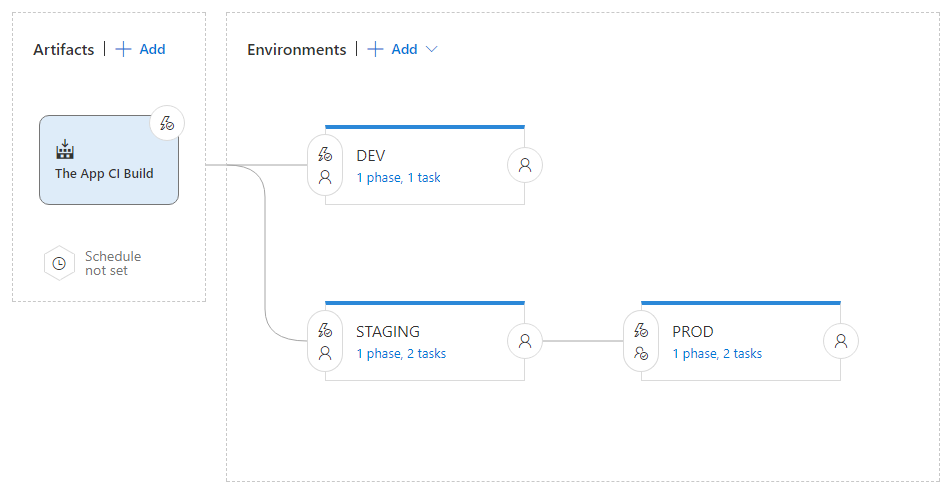
That’s it. If a build definition is configured and its artifact is correctly referenced then after the build completes, we should have our release started and tests should run in STAGING. If they pass then the selected approver will get prompted for the approval for release to PROD.
Useful article on CI and CD: https://www.atlassian.com/continuous-delivery/ci-vs-ci-vs-cd